Chapter 12 of 13 · Intermediate · 8 min read
Color Grading Workflow: The Order That Works
Every tool in a grade can undo the work of another, so the order you use them in matters as much as the tools themselves. Colourists settled on a sequence long ago: get the footage into the right colour space, balance it, make the shots agree, fix specific areas, then add the creative look and the finishing texture, check it and export. Each stage hands the next a predictable picture, which is what keeps a grade under control.
This chapter walks through that colour grading workflow stage by stage, shows where each stage lives in the studio, and maps it to the Layers stack, DaVinci Resolve’s node tree and the section order of Premiere Pro’s Lumetri Color panel. It ends with keyframes, for shots where the light changes while the camera rolls. The earlier chapters cover each tool in depth; this one is about how they fit together.
Video guide
Color Grading Workflow Step by Step: Balance to Look
Chapters
The grading workflow, in order
- Input and colour management. Convert log or HDR footage to the working colour space, so every later control behaves as designed. See log footage and LUTs.
- Balance. Set levels and contrast, then neutralise white balance, so the shot is accurate. See contrast and tonal range and white balance.
- Match shots. Bring every shot of a scene in line with a hero shot. See shot matching.
- Secondaries. Fix or shape specific colours and areas: skin, sky, a distracting sign. See secondary colour correction.
- Creative look. Give the scene its mood, usually the same look across all its shots. See creative looks.
- Finishing. Add texture last: grain, vignette, sharpening, glow.
- Checks. Compare with the original, read the scopes and play the whole clip.
- Export. Choose the format and quality for where it will be watched. See delivery.
Why this order works
Each stage assumes the one before it is done. Contrast controls expect normal display-referred footage, not a flat log signal. A look is designed for neutral, balanced input: put it on a shot that is too blue and you get a bluer version of the look, and two shots with different casts stay different after the same look goes on. Secondaries pulled from an unbalanced picture have to be redone when the balance changes. And texture comes last because grain and sharpening should sit on top of the final colour, not be stretched by the controls that follow them.
Working out of order also costs time. Fix a white balance problem inside the look and you will fix it again on every shot the look is pasted onto. Fix it on the shot’s correction and the look stays reusable.
Each stage in the studio
Switch to Pro to see every panel and the scopes column. Here is where each stage lives.
Input
In the Footage panel, set Footage to your camera’s log or HDR profile and use Log exposure to trim the level before the conversion. For a camera that isn’t listed, use Import LUT in Creative with Apply LUT set to Before the grade, and leave Footage on Standard video (Rec.709). Use one conversion or the other, never both. Ordinary phone and camera video needs nothing here.
Balance
Adjust edits the Correction layer. Auto colour (A) is a reasonable draft; then set Exposure, Contrast, Whites and Blacks against the Waveform, and neutralise the colour with Pick white (W), Temperature and Tint. The Wheels panel does the same job with Lift, Gamma, Gain and Offset if you prefer to balance shadows, midtones and whites separately.
Match
In Match, use Grab still on the hero shot, Show as reference on the others, and Match colours for a first pass. Copy grade and Paste grade share a finished grade across shots.
Secondaries
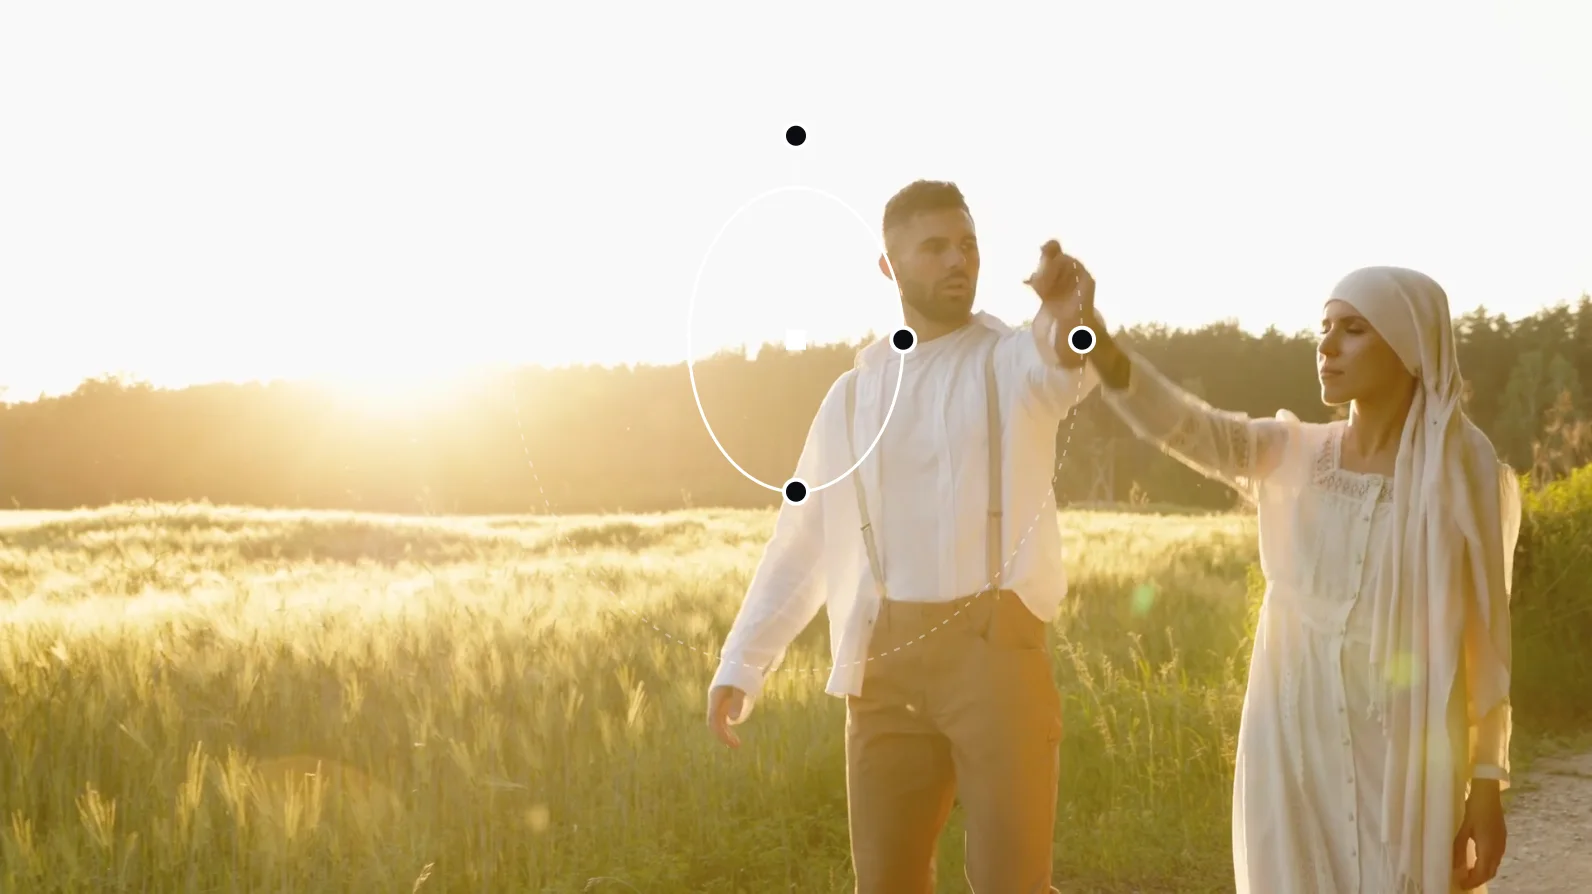
In Secondary, choose Add a secondary layer, then select what to change with the qualifier (Pick colour, or the Skin, Sky and Foliage presets), a window (Circle, Rectangle, Gradient, Polygon), or both. Show mask set to Highlight shows exactly what is selected.
 (enlarge image)
A Circle window on a secondary layer, with Show mask on Highlight.
Look
Pick a look in Looks and set its Intensity; Protect skin tones keeps faces out of it. Build or refine your own with Curves, HSL and Split toning, or load a creative LUT with Apply LUT set to After the grade.
Finishing
In Creative, add Grain, a Vignette, Sharpen, Halation or Bloom. A little goes a long way, and all of them cost bitrate when you export.
How the order maps to Layers
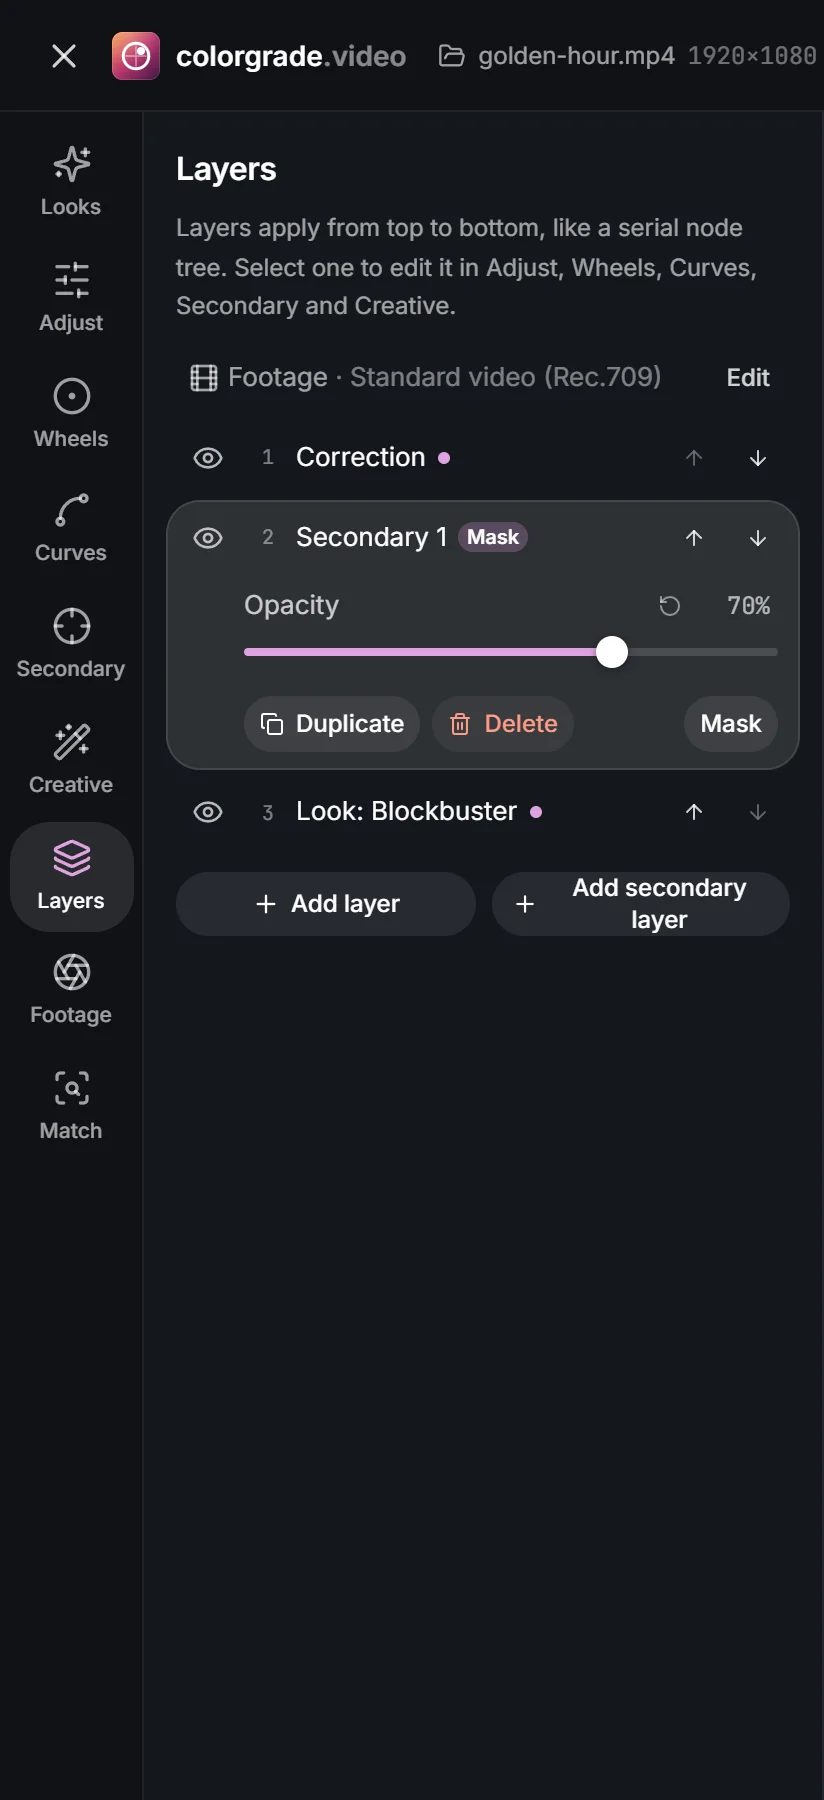
The Layers panel shows the grade as a stack, read from top (first) to bottom (last): Footage, the fixed input conversion; Correction; any layers you add, including secondary layers; Look; and LUT, when one is loaded. It is DaVinci Resolve’s serial node chain simplified to one column, and the default rows already follow the grading order.
Order matters
Each layer works on the picture the layers above hand it. A warming correction before a teal-and-orange look changes what the look treats as warm, while the same warming after the look tints the look itself. A secondary that selects skin works best on the balanced picture, before a look has moved skin around. When a change behaves oddly, check where it sits in the stack; moving a row up or down often fixes it.
Opacity and bypass
- Opacity mixes a layer’s result with what it received, from 0 to 100%. A look at 70% keeps its character with less force; a secondary at 50% softens a fix that went too far.
- The switch on each row bypasses that layer, so you can see exactly what it contributes. Bypass in the top bar (Shift+D) shows the original for the whole grade.
- Rows can be renamed, moved up or down, duplicated and, for added layers, deleted. You can add up to 12 layers, and up to 6 of them can have a mask.
 (enlarge image)
The Layers stack runs top to bottom: Footage, Correction, a secondary layer, Look.
The same order in DaVinci Resolve and Premiere Pro
The workflow is the same in every grading application; only the containers change. In Resolve’s Color page, a typical serial node tree starts with a Color Space Transform node for log footage, then a balance node, then nodes for secondaries and the look, with the order of the nodes doing the job of the studio’s rows. Resolve also has parallel and layer mixer nodes, which combine branches side by side; the studio keeps to one serial chain, which covers most single-clip grades.
Premiere Pro’s Lumetri Color panel lists its sections as Basic Correction, Creative, Curves, Color Wheels & Match, HSL Secondary and Vignette. That puts the Creative look above the secondary sections in the panel, so editors who want secondaries before the look often add a second Lumetri Color effect, or put the look on an adjustment layer over the clips. Our guides to DaVinci Resolve and Premiere Pro show each control.
| Stage | This studio | DaVinci Resolve | Premiere Pro (Lumetri) |
|---|---|---|---|
| Input | Footage panel | Color Space Transform node | Input LUT or colour management |
| Balance | Adjust, Wheels | Primaries on a balance node | Basic Correction |
| Match | Match | Shot Match, gallery stills | Color Wheels & Match |
| Secondaries | Secondary layers | Qualifier and window nodes | HSL Secondary |
| Look | Looks, Curves, LUT | Look node or LUT | Creative, Curves |
| Finishing | Creative | Effects on the last nodes | Creative (Sharpen), Vignette |
When the light changes: animating the grade
Some shots change while the camera rolls. The sun goes behind a cloud, automatic exposure creeps as someone walks past a window, or a camera moves from daylight into a room lit by bulbs. One grade can’t be right at both ends of a shot like that. Keyframes let it change with the light.
- Grade the start of the shot as usual.
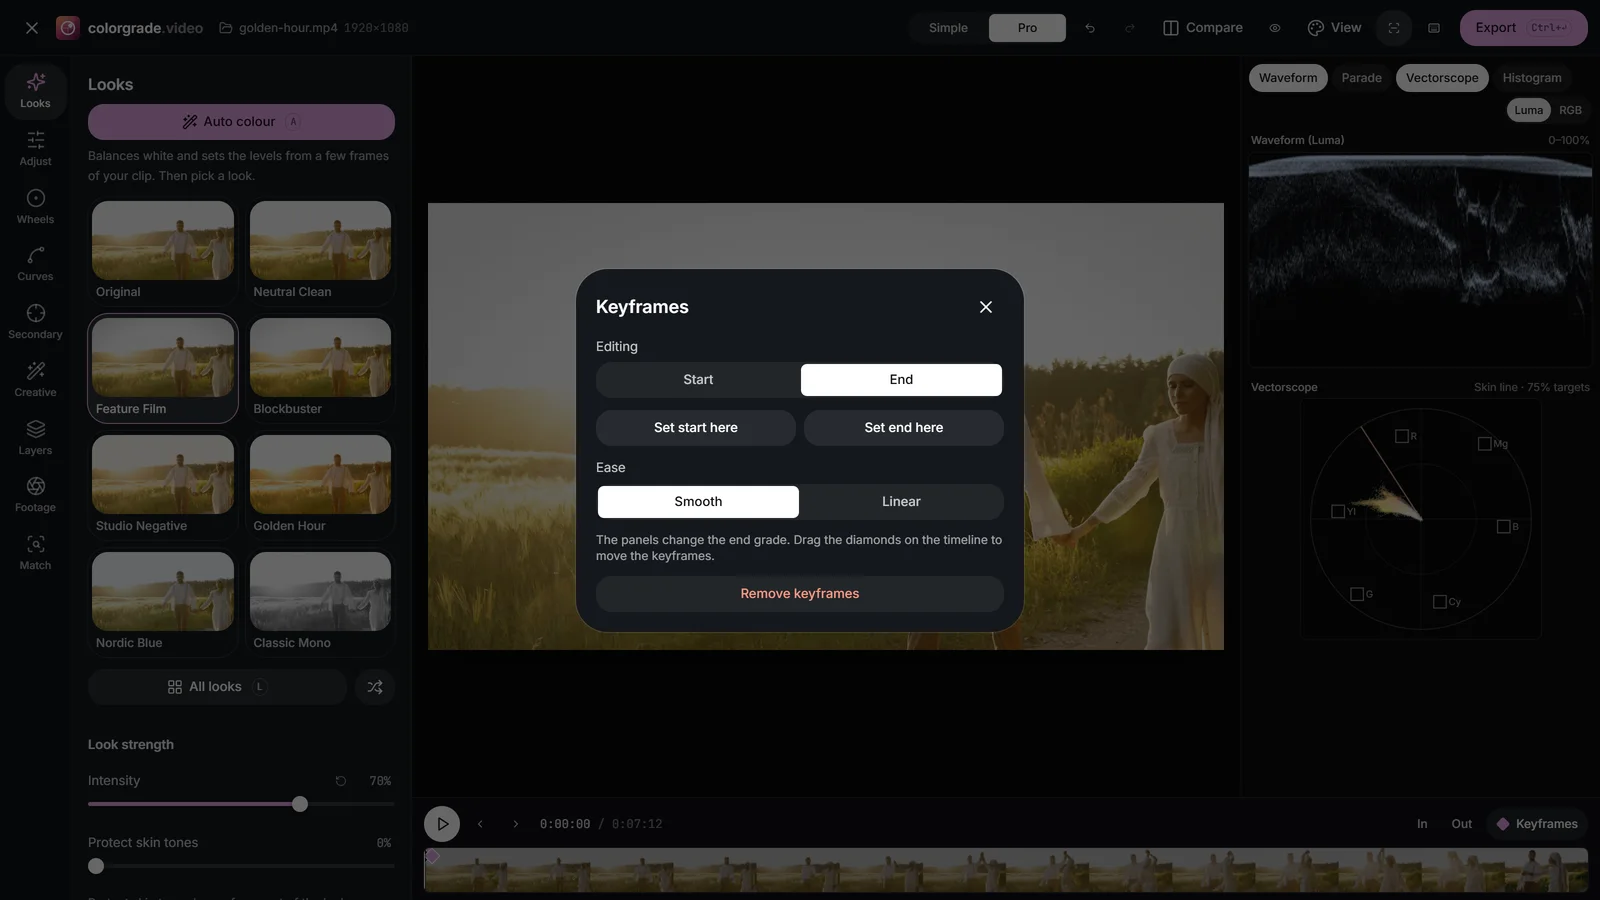
- Open Keyframes on the timeline and choose Animate the grade. This creates an end grade, a copy of the start grade you can change.
- Move the playhead to where the change begins and choose Set start here, then to where it ends and choose Set end here.
- Choose Editing: End and correct the end of the shot. Editing: Start goes back to the first grade.
- Pick Ease: Smooth starts and finishes the change gently; Linear changes at a steady rate, which suits a steady drift.
Between the markers the picture dissolves from the start grade to the end grade, as dynamic keyframes do on a Resolve node. Change only what the light changed, usually Temperature, Tint and level, and leave the look alone, so the shot’s style holds while its balance follows the scene. Remove keyframes returns to a single grade.
 (enlarge image)
Animate the grade adds an end grade; the picture dissolves between the markers.
Checks before export
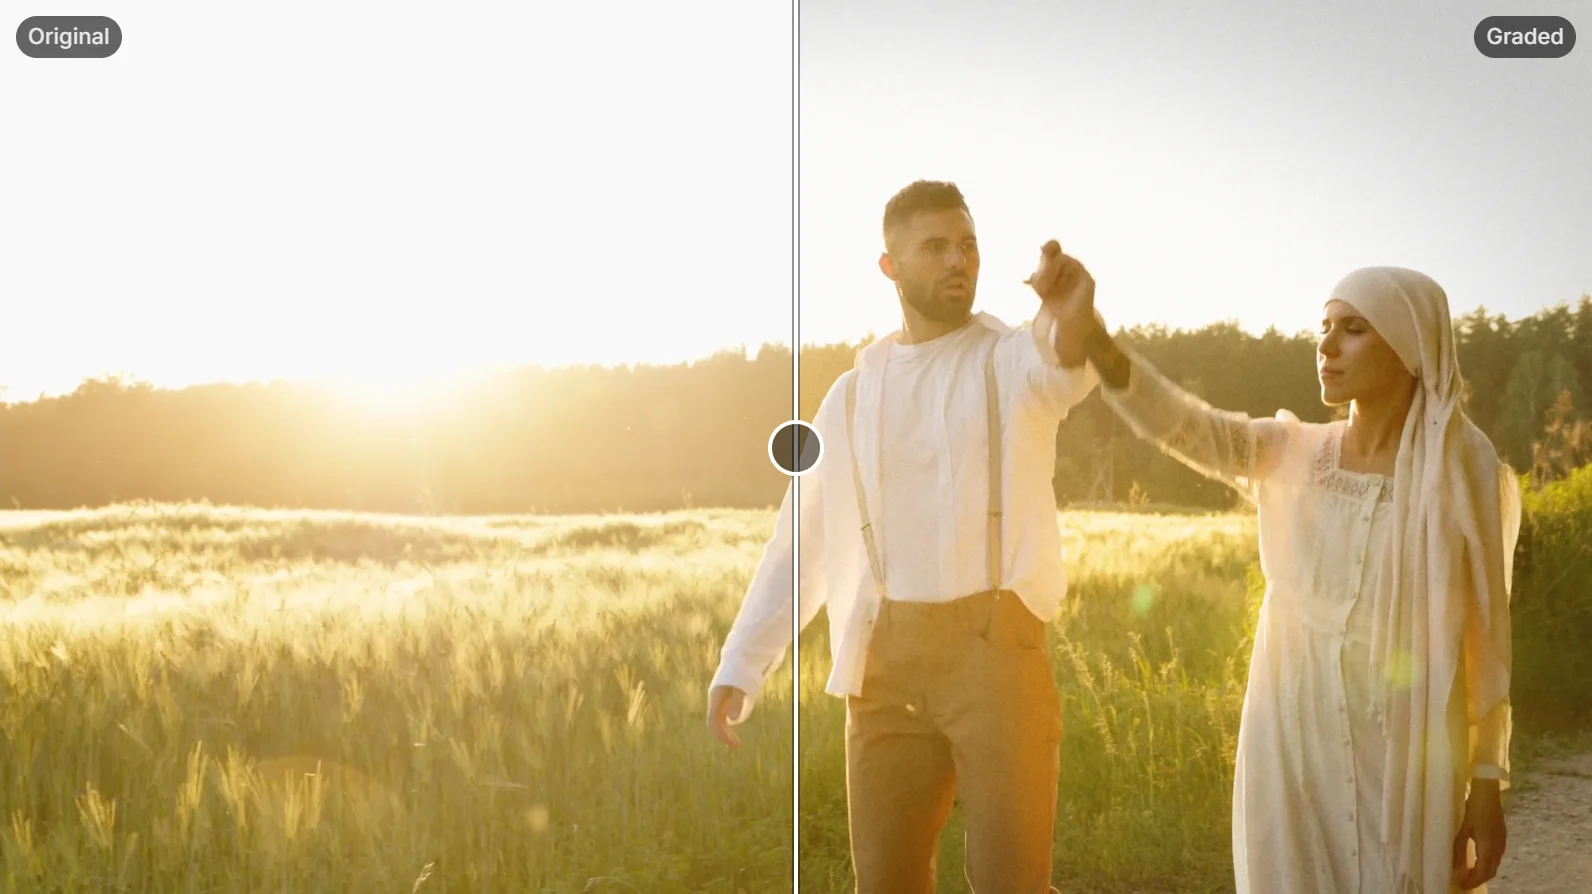
- Toggle Bypass (Shift+D) or set Compare to Split to see how far you have come. A grade that looks good only when you can’t see the original is often too strong.
- Set View to Clipping to find channels at 0 or 100%, and to False colour to check levels at a glance.
- Read the Vectorscope for skin on the skin tone line and the Waveform for black and white levels.
- Play the whole clip, not just the frame you graded: light, framing and skin change through a shot.
- Check the In and Out markers so you export the range you mean to.
Then export, choosing the format and quality for where the video will be watched. The mistakes chapter is a good final checklist, and the tutorial overview links every stage.
 (enlarge image)
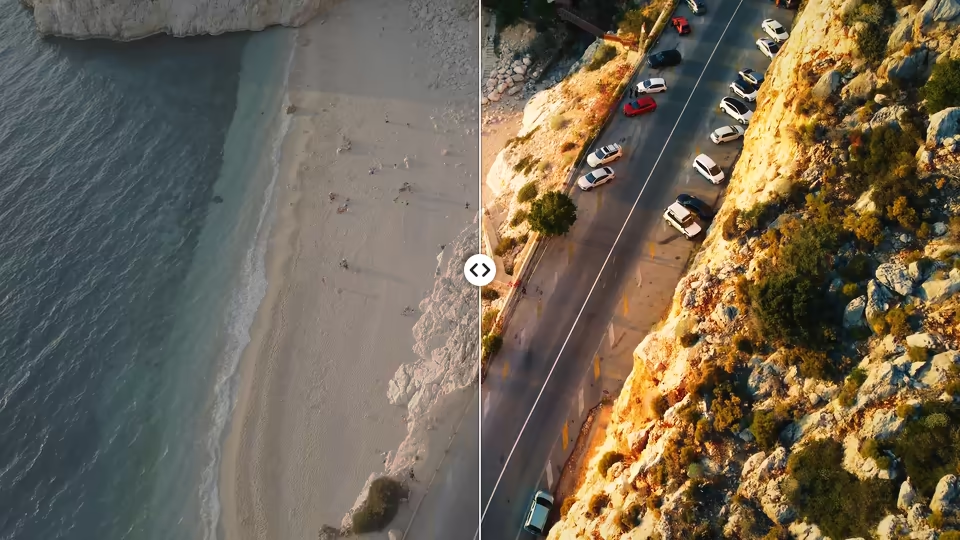
Compare on Split: the original on the left, the finished grade on the right.
Try it: grade a clip in workflow order
Grade a sunset clip stage by stage: balance it, fix the face with a secondary layer, add a look and finishing texture, check the layer stack, then animate the grade for the changing light.
- 1
Balance on Correction
Open the clip, switch to Pro, and in Adjust set Contrast and Temperature while watching the Parade.
- 2
Add a secondary
In Secondary, choose Add a secondary layer, add a Circle window over the face, set its Feather, and lift the face a little with Exposure.
- 3
Add the look
In Looks, choose a look and set Intensity and Protect skin tones.
- 4
Finish
In Creative, add a touch of Grain and a gentle Vignette.
- 5
Review the stack
Open Layers, switch each row off and on to see its effect, and lower the Look row’s Opacity if it is too strong.
- 6
Animate for the light
Open Keyframes, choose Animate the grade, set the markers with Set start here and Set end here, and adjust Temperature on Editing: End.
Drop a video or photo to colour gradeChoose a video or photo to grade
Opens in the studio: looks and Auto colour for a quick result, wheels, curves, masks and scopes when you want more.It opens in the studio on your phone. Nothing is uploaded.
MP4, MOV, WebM, MKV, JPG, PNG, WebP
Free · no watermark · graded on your device, never uploaded