Thirteen lessons that teach you how to color grade video in the order colourists work, each one demonstrated in a free studio you can follow along in.
Basics to advanced
A short video for every lesson
Nothing is uploaded
LogTeal & orangeTeal & orange look
Drop a video or photo to colour gradeChoose a video or photo to grade
Opens in the studio: looks and Auto colour for a quick result, wheels, curves, masks and scopes when you want more.It opens in the studio on your phone. Nothing is uploaded.
MP4, MOV, WebM, MKV, JPG, PNG, WebP
Free · no watermark · graded on your device, never uploaded
This color grading tutorial takes you from reading a scope for the first time to delivering a finished grade. It is arranged in three levels, Basics, Intermediate and Advanced, and every lesson is demonstrated in the free studio on this site, so you can open a clip of your own and follow along with exactly the controls and scopes you see in the lesson. (In British English it is colour grading; the craft is the same.)
It is written for beginners who already edit video and want their footage to look deliberate: editors, video makers, event filmmakers and students. The first lessons are easy color grading techniques for beginners that fix most footage on their own (read the scopes, set white balance, set contrast), and the later ones build on them. The ideas carry over to any grading application. Where DaVinci Resolve, Premiere Pro or Final Cut Pro call a control something different, the lessons say so.
What colour grading is
Colour grading is shaping the colour and contrast of footage, and in practice it is two jobs. Correction makes the picture accurate: neutral white balance, sensible black and white levels, and shots that agree with each other. Grading, in the narrow sense, makes it expressive: the warm nostalgia of a flashback, the cold tension of a thriller, the clean brightness of a product video.
Correction has a measurable target: whites read as white, skin sits on the skin tone line, nothing important is clipped.
Grading has no single right answer: the same footage can be graded a dozen ways, each telling the story differently.
Correction comes first, because a look applied to an uncorrected shot carries its faults along with it. Our guide to what colour grading is explains the difference, the vocabulary and the history in full; if you only need accurate colour today, the colour correction tool does it in one step.
Why grading matters
Audiences read colour before they think about it. Warmth suggests comfort or memory, cool desaturated tones suggest distance or threat, and contrast sets how hard or soft a world feels. A grade lets you choose those signals rather than accept whatever the camera produced.
It also makes footage look professional in quieter ways. Consistent colour from shot to shot is what makes an edit feel continuous; a face that changes hue on every cut feels cheap even when viewers can’t say why. And many cameras now record log, a deliberately flat signal that is designed to be graded and looks grey and lifeless until it is.
Finally, grading decides how your work survives the trip to the audience. A grade built with scopes and checked for delivery holds up on phones, laptops and televisions; one judged only by eye on one screen often does not.
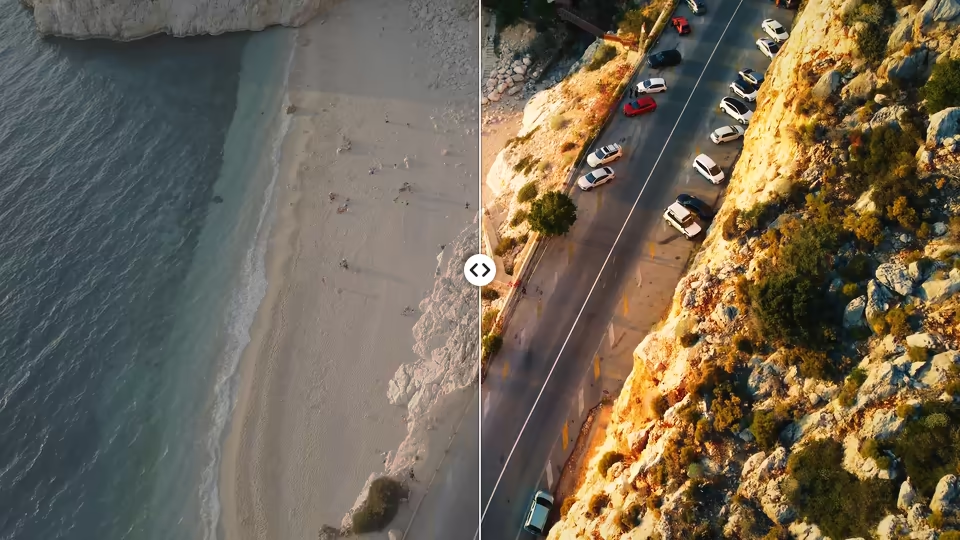
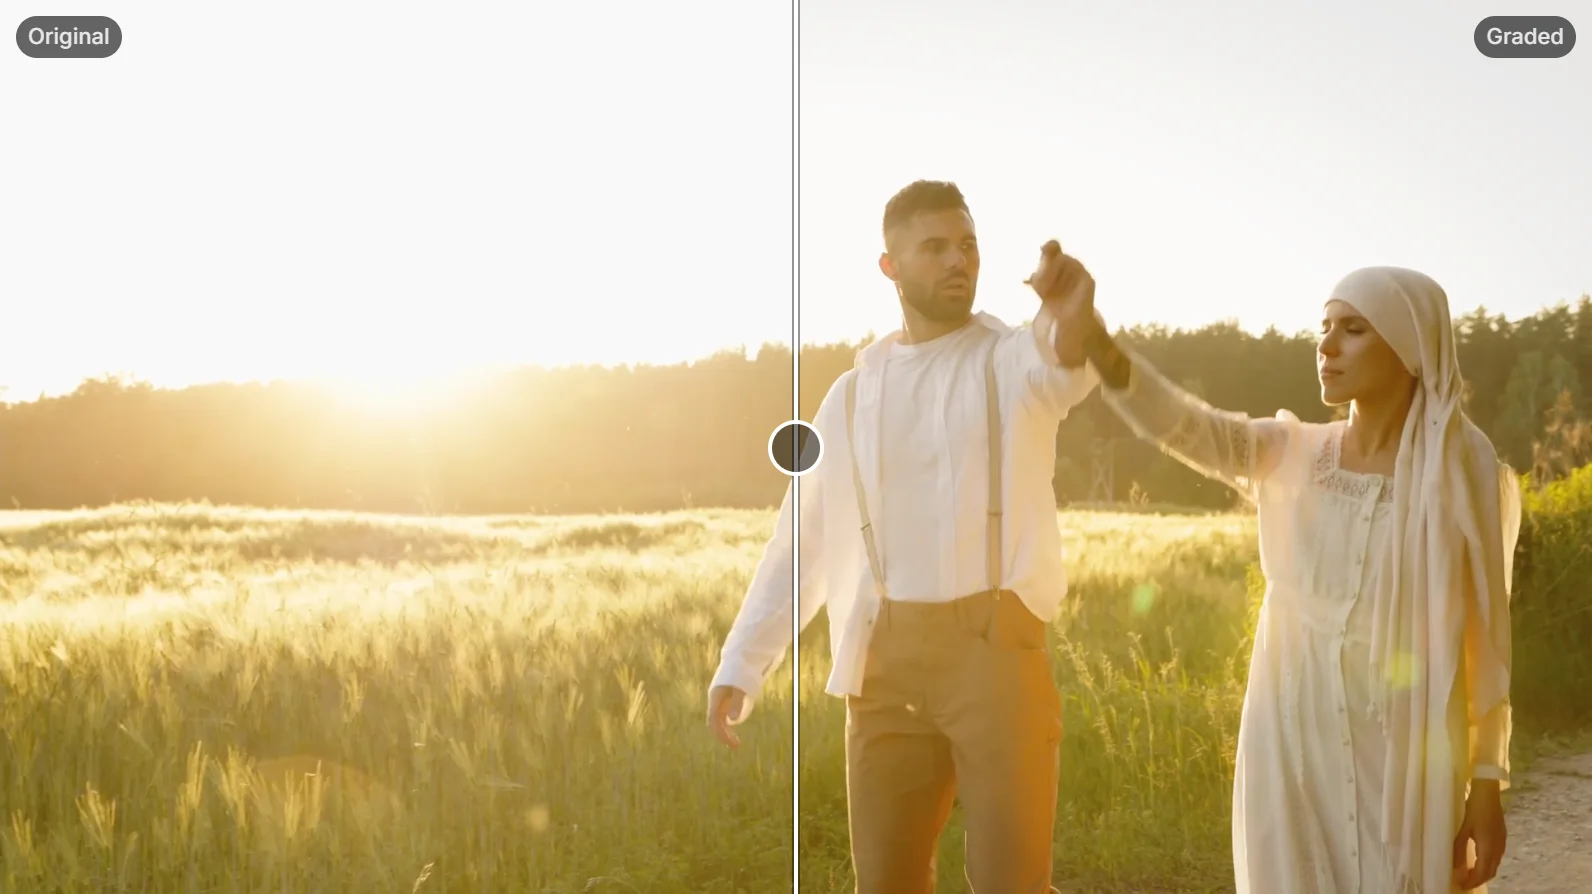
Compare on Split: the original on the left, the grade on the right.
How this tutorial works
Each lesson explains one part of grading, why it works the way it does, and how to do it. Every lesson has a short video of the technique being done in the studio, screenshots of the important moments, a Try it procedure with the exact control names, and answers to the questions people most often ask about it.
Follow along with your own clip
Open any clip with Open video or photo (or drag it onto the page) and the studio opens full screen, with your clip in the middle. The lessons use the same panels and the same labels you see there. Choosing Back in your browser returns you to the lesson, and Forward returns you to the studio with your work intact.
Choosing where to start
New to grading? Start at lesson 1 and work through the Basics in order; each one builds on the last.
Already use Lumetri or Resolve’s wheels? Skim the Basics for the scope habits, then start at the Intermediate lessons.
Shooting log? Do the Basics, then go straight to the log footage lesson before anything creative, because every other control depends on the conversion.
Grading a multi-camera edit? The shot matching and workflow lessons are the ones that save the most time.
Most lessons take ten to twenty minutes with your own clip open. Doing the Try it steps matters more than reading every paragraph: grading is learned by moving controls and watching what the scopes do.
Everything stays on your device
The studio runs in your browser. Your footage is read and graded on your own computer or phone and is never uploaded, so you can practise on private or client material. There is no account, no watermark and nothing to install.
The studio in two minutes
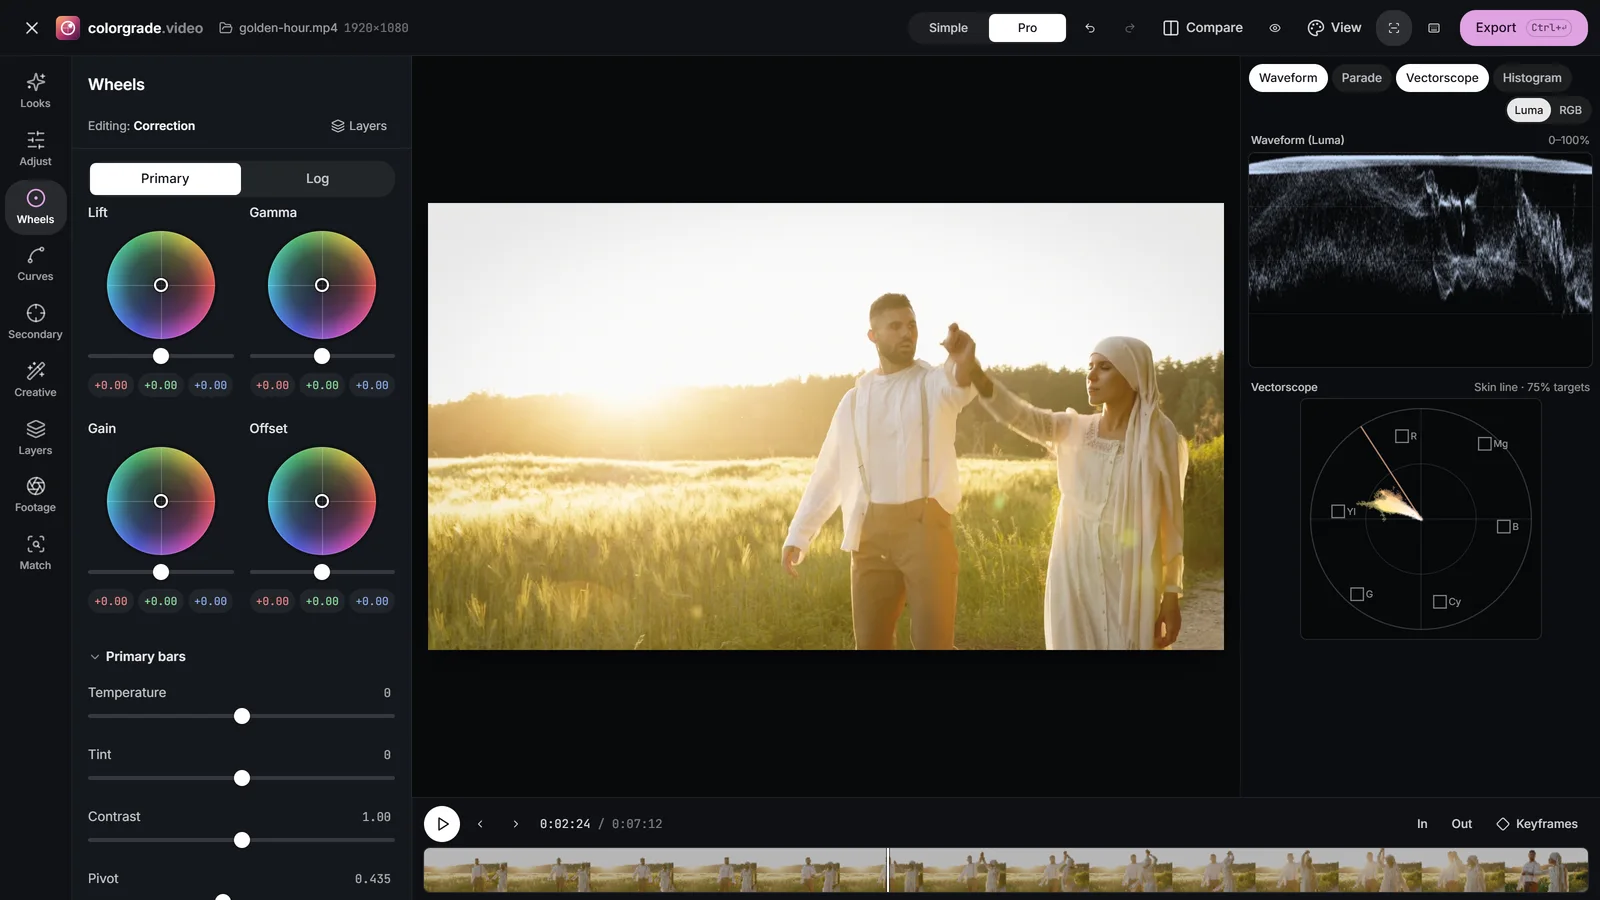
The studio has two modes. Simple shows Looks, Adjust and Creative, which is enough for quick work. Pro (P) adds Wheels, Curves, Secondary, Layers, Footage and Match, and shows the scopes column. Most lessons use Pro.
The Scopes column shows up to two of Waveform, Parade, Vectorscope and Histogram: the measurements that keep your grade honest.
Compare (Split or Side by side) and Bypass (Shift+D) show the original next to your grade.
View switches to False colour or Clipping to check levels at a glance.
Every slider resets with a double-click, and Undo and Redo cover everything.
Export (Ctrl/Cmd+Enter) saves a video, a still image or your grade as a .cube LUT.
Export for the screens your audience uses: delivery.
You don’t need every step on every clip. A well-shot phone video may need only levels, white balance and a gentle look; a two-camera interview shot in log uses the whole list. What stays the same is the order, because each step hands the next a predictable picture.
What you need
A clip. Any MP4, MOV, WebM or MKV video works, and photos (JPG, PNG, WebP, HEIC) open as stills. Phone footage is fine; log footage is better for the advanced lessons.
A modern browser. A current version of any major browser on a computer is best. A phone works too, though the panels and scopes are smaller.
Ideally, a decent screen. It doesn’t need to be calibrated, but turn off auto-brightness and warm night-time modes while you grade, and keep the room light steady.
The scopes. They are the difference between a grade that looks right on your screen and one that is right. Every lesson uses them.
You can learn the basics, scopes, contrast and white balance, in an afternoon, and work through this whole tutorial in a few days of practice. Getting good takes longer: most of the skill is in judgement, which comes from grading many different shots and comparing your work against references.
What should I learn first in color grading?
Learn to read the scopes, then contrast and white balance. Those three underpin everything else, and they cover most of what correction needs. Creative looks are more fun but work far better once you can balance a shot reliably.
Do I need DaVinci Resolve to learn color grading?
No. The principles, order of work and controls are the same in every grading application, and this tutorial teaches them in a free browser studio. Resolve is an excellent next step for long projects, and its wheels, curves, qualifiers and nodes will feel familiar after these lessons.
What is the difference between color grading and using a LUT?
A LUT is a stored colour transform: it maps each input colour to an output colour. Grading is the whole process of deciding how footage should look, which may use a LUT for a camera conversion or a creative look but also needs per-shot balance, matching and secondaries that a LUT can’t do.
Can I learn color grading on my phone?
Yes, the studio works on phones, with the panels in a bar at the bottom and the scopes in a collapsible strip. A larger screen makes it easier to see fine differences and to keep scopes and picture visible together, so use a computer when you can.
Is this tutorial free, and is my footage uploaded?
The tutorial and the studio are free, with no account and no watermark. Your footage is processed in your browser on your own device and is never uploaded.